
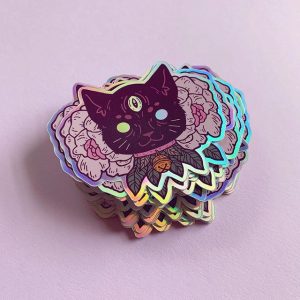
 A holographic sticker grabs attention like no other! It has this iridescent effect that just makes you look at it. But did you know you could make yours at home? In this blog post, you’ll learn the easy 3-step process to creating these rainbow patterned stickers.
If that sounds interesting, then keep on reading.
Step #1 – Create Your Design
The first step to creating your stickers is to make your illustration. It’s easy if you have design or drawing skills. But what if you don’t? Fortunately, You won’t have to worry about it, as you can hire someone to do it yourself. Cheap places to find illustrators are on freelance websites like Upwork and Fiverr.
Step #2 – Getting Your Materials
Once you’ve finished designing, it’s time to find the materials for the stickers. There are two ways to get that effect.
First, you could just buy holographic vinyl. They are cheap and can be found in arts & craft shops or amazon.
Alternatively, you could just buy a holo laminate. This is a layer that sticks to your sticker giving you the same effect. These can also be found in arts & crafts shops, including Etsy!
Step #3 – Printing it
Once you’ve got your materials with you, all that is left is printing! For holographic vinyl, you’ll just have to put the vinyl to your printer and print it out!
But for a holo laminate, you’ll have to first print your sticker as usual and then cut the laminate to shape! Then put the holo on top of your sticker, cover it with paper and run it through the printer again. After that, you’re ready!
Conclusion
And that’s it! You now know how to create holographic stickers at home! But what if you want an even easier way? Well, then you can make your own holographic stickers with Stickerapp. Then you’ll simply have to create the design and let them print it out for you!